Manual for the TFO room booking system
I. Create an account
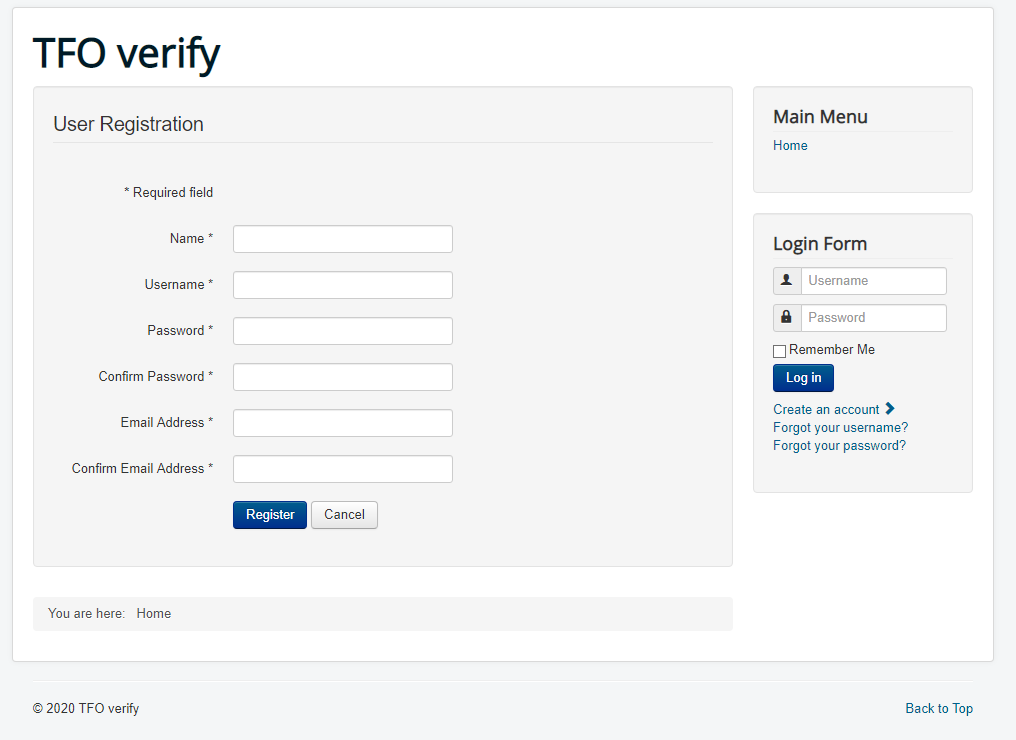
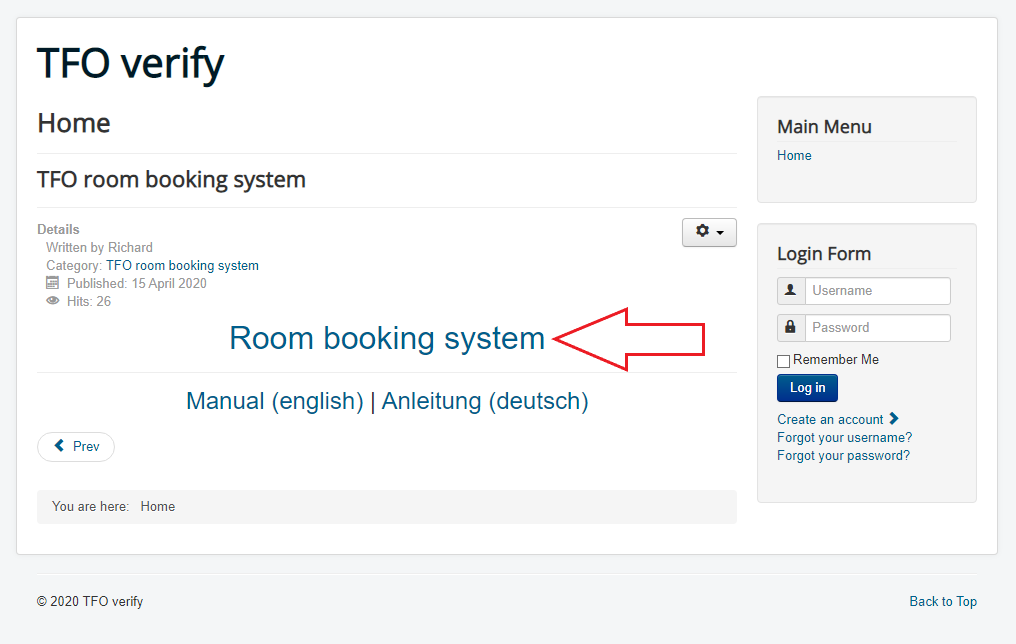
(1) On the right side of the start page below the login field click on the link called "Create an account".

(2) You will see now a registration form (Name, Username, Password, Confirm Password, Email Address, Confirm Email Address). Name is just for internal administration, the Username is what you will need for login to the booking system and what is displayed in the calendar who has created an entry.
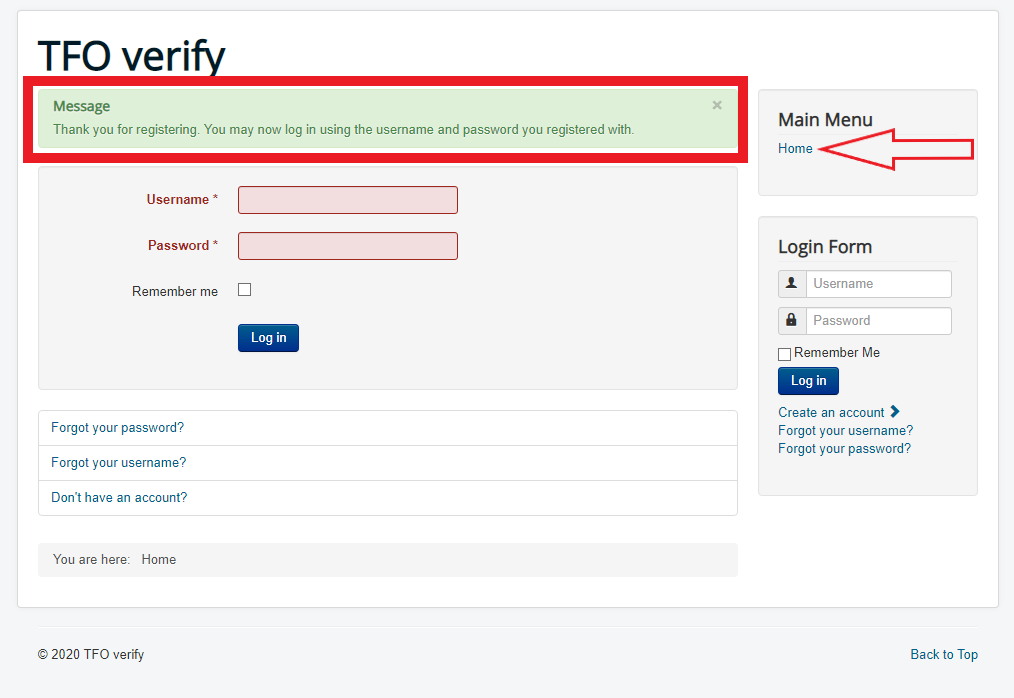
(3) After you click on the blue "Register" button a confirmation site should appear and you will receive an email with your account details. Then please go back to the start page and click on the link "Room booking system" (or click here directly: TFO room booking system)
II. Calendar usage
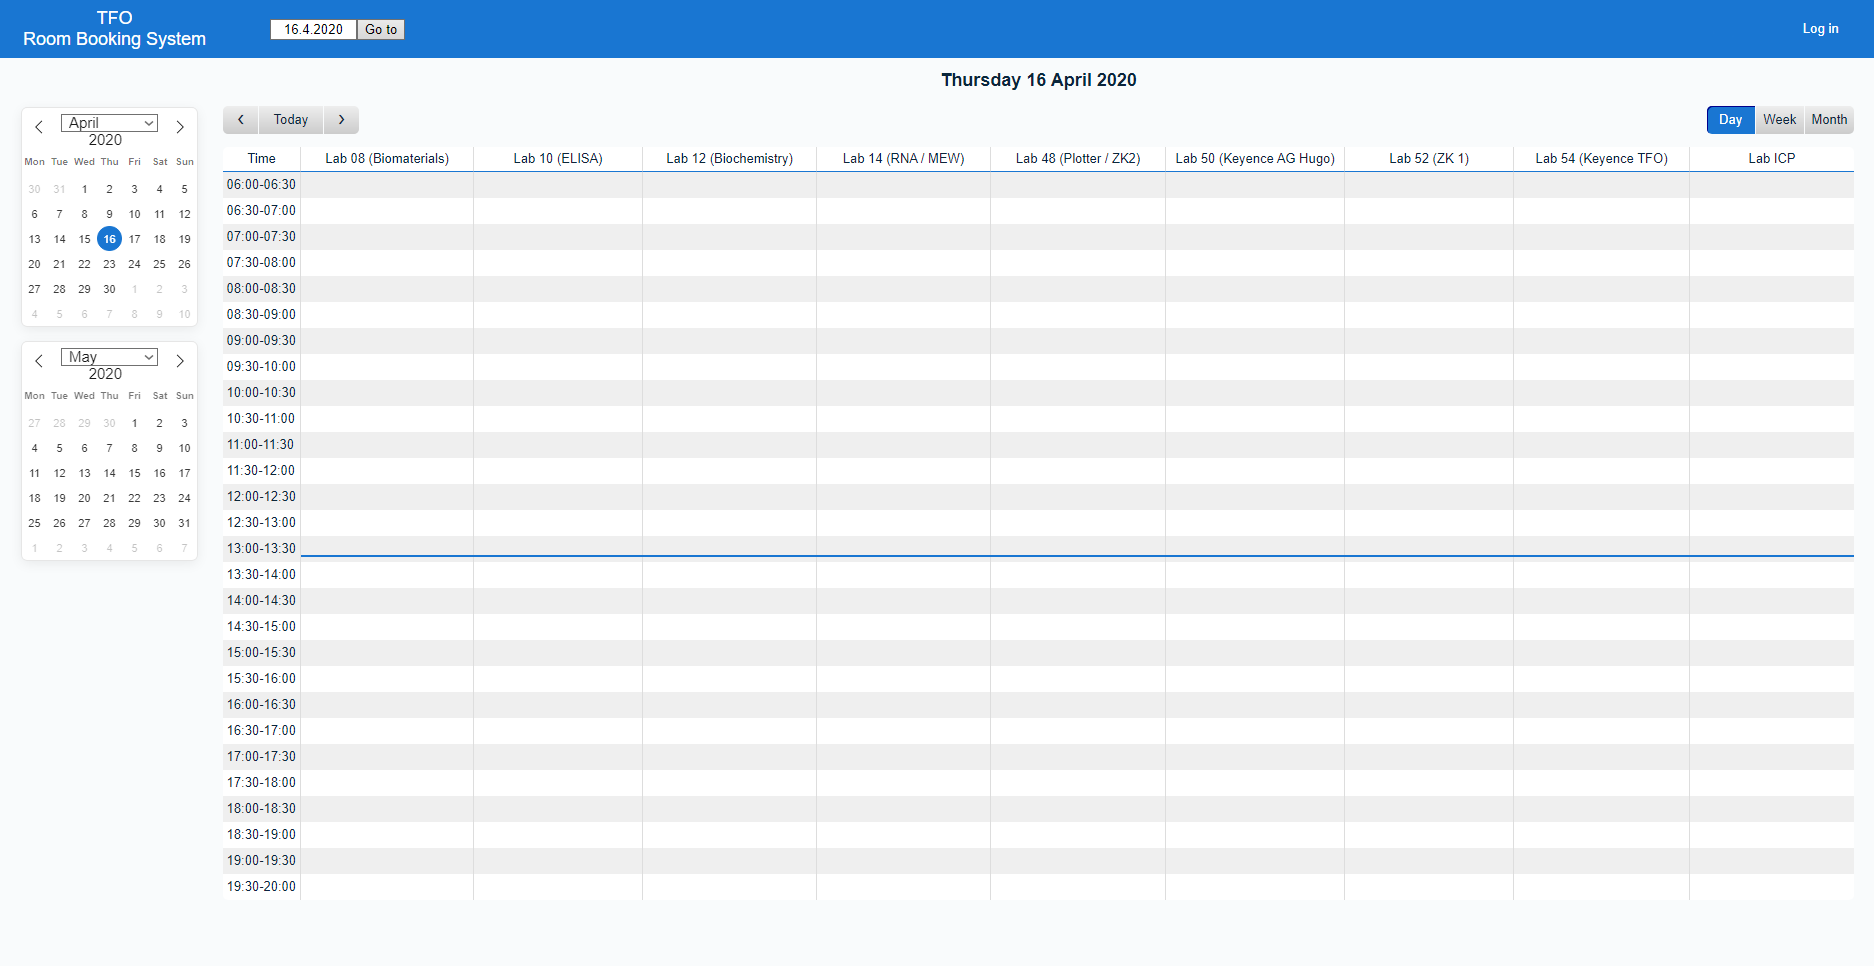
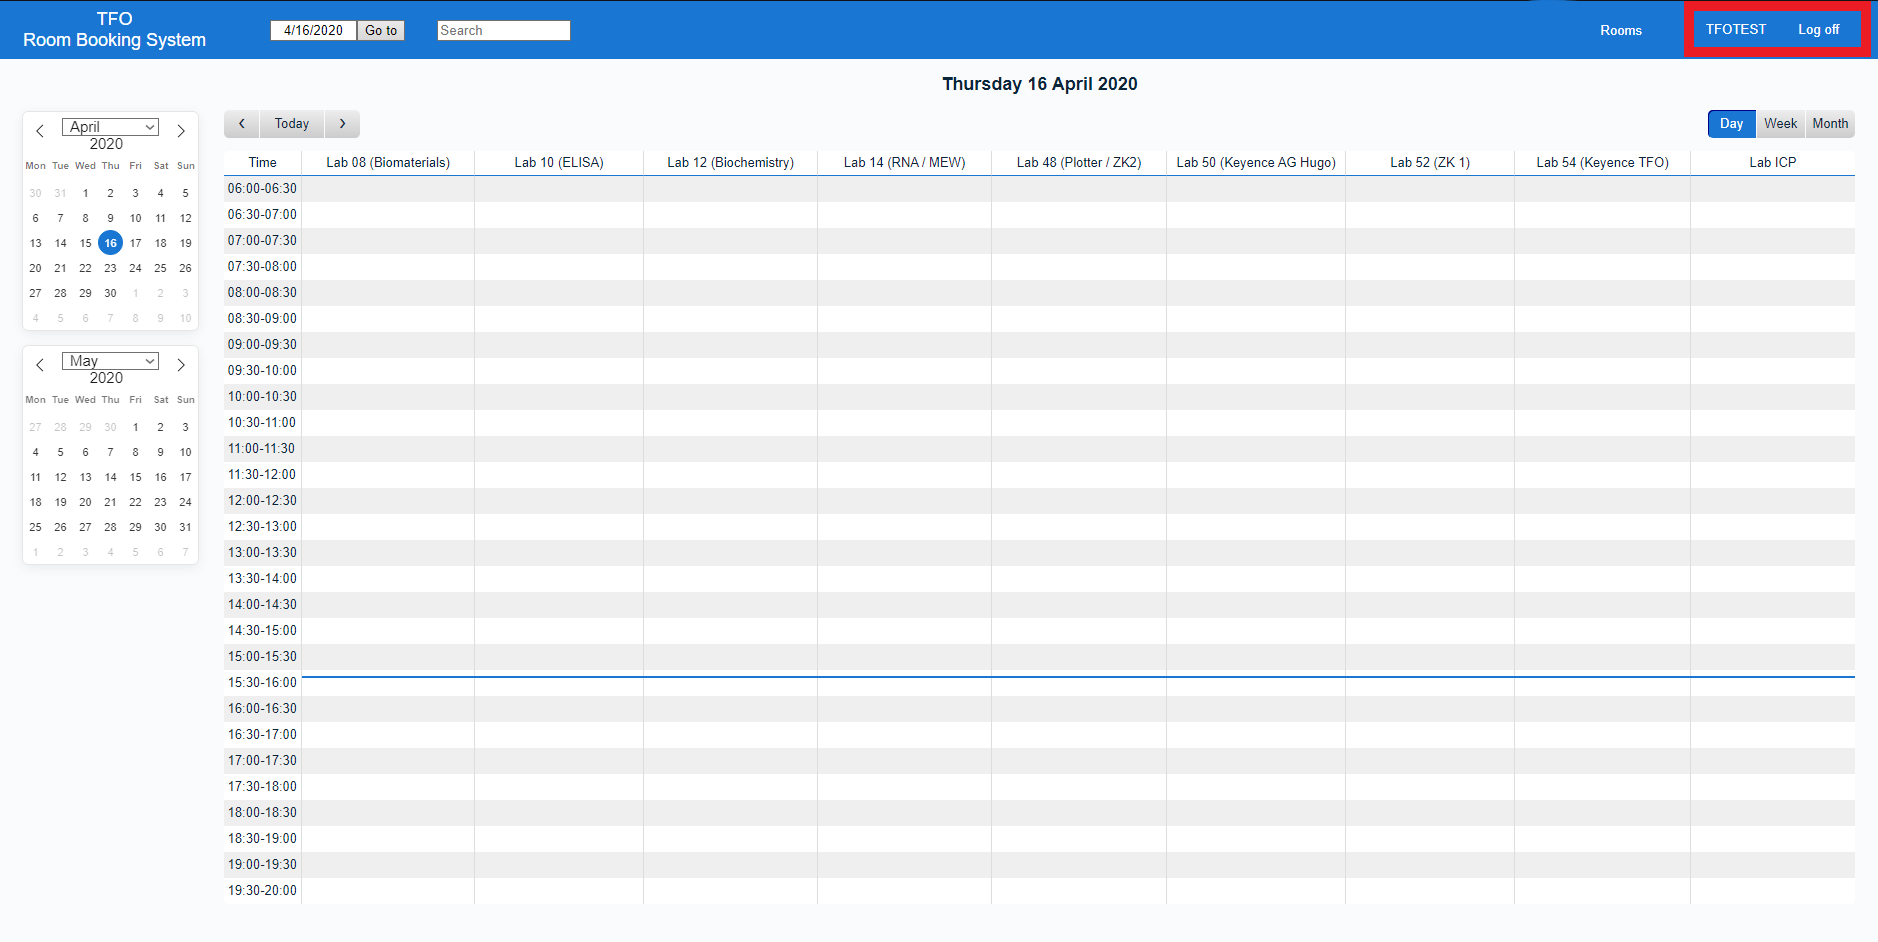
(1) You will see now the start page of the calendar/booking system. The starting view is always the day-view with all entries of the current day, but you can switch easily between day, week and month view. You can also click on any lab in the upper row to get an overview of all entries for that given lab.
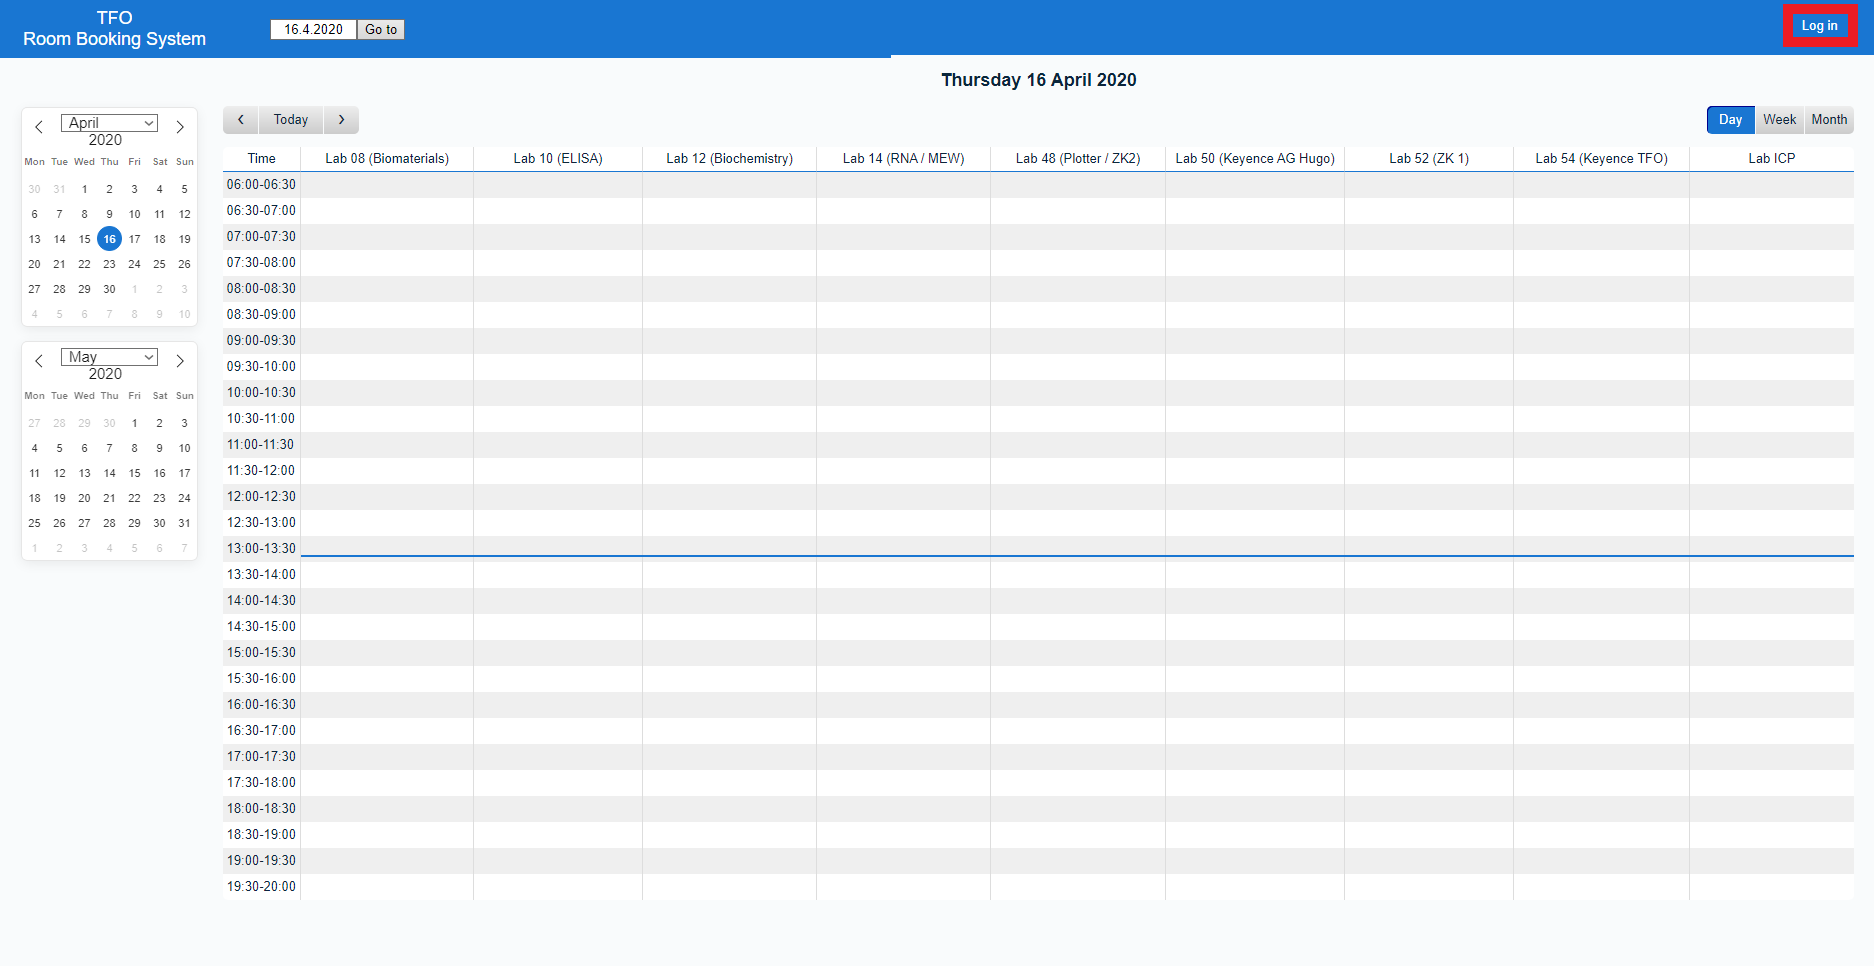
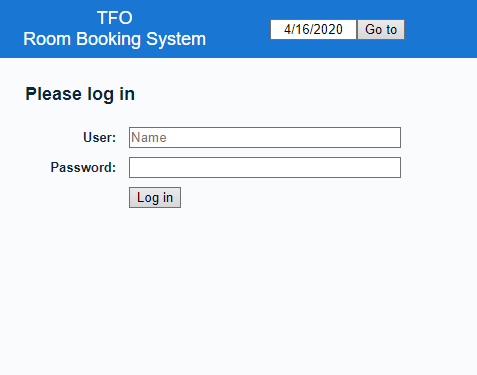
(2) To make a new entry you first need to login in. Therefore use the "Log in" link in the upper right corner. You will see a login page. There you can use the account (username, password) you just created. You will be redirected to the calendar automatically and in the upper right corner your username should now be displayed to indicate that you are logged in.
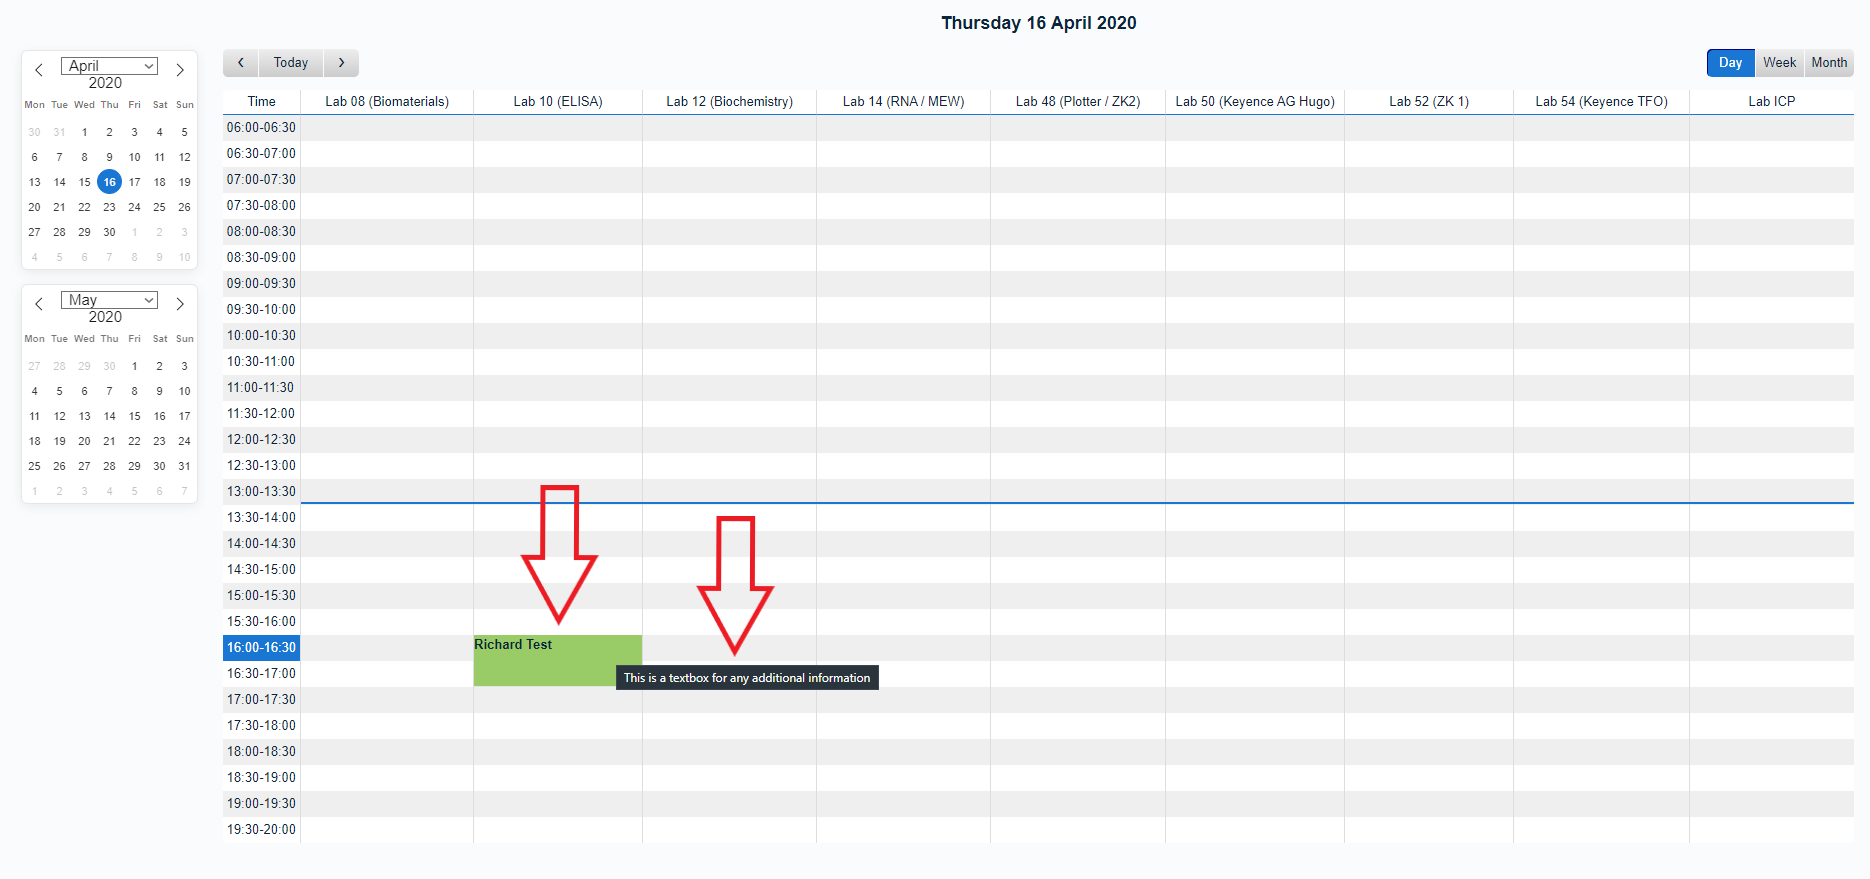
(3) Now to make an entry in the calendar just click on any time slot for a lab you want to book. Afterwards an "Add Entry" page will appear. This page should hopefully be pretty self-explanatory. Just write (for example) your name in the "Brief description" field, any additional information can be written in the "Full description" text box, choose your start and end date as well as the lab and click on the "Save" button. In case you want to create an repeating entry just check the additional options. Confirmation status should normally remain unchanged at "Confirmed".

(4) The new entry will now appear in the calendar view with the "Brief description" as the title and the "Full description" is shown when you hover with mouse over the entry.
(5) To edit or delete an entry just click on the entry and click on the respective button.
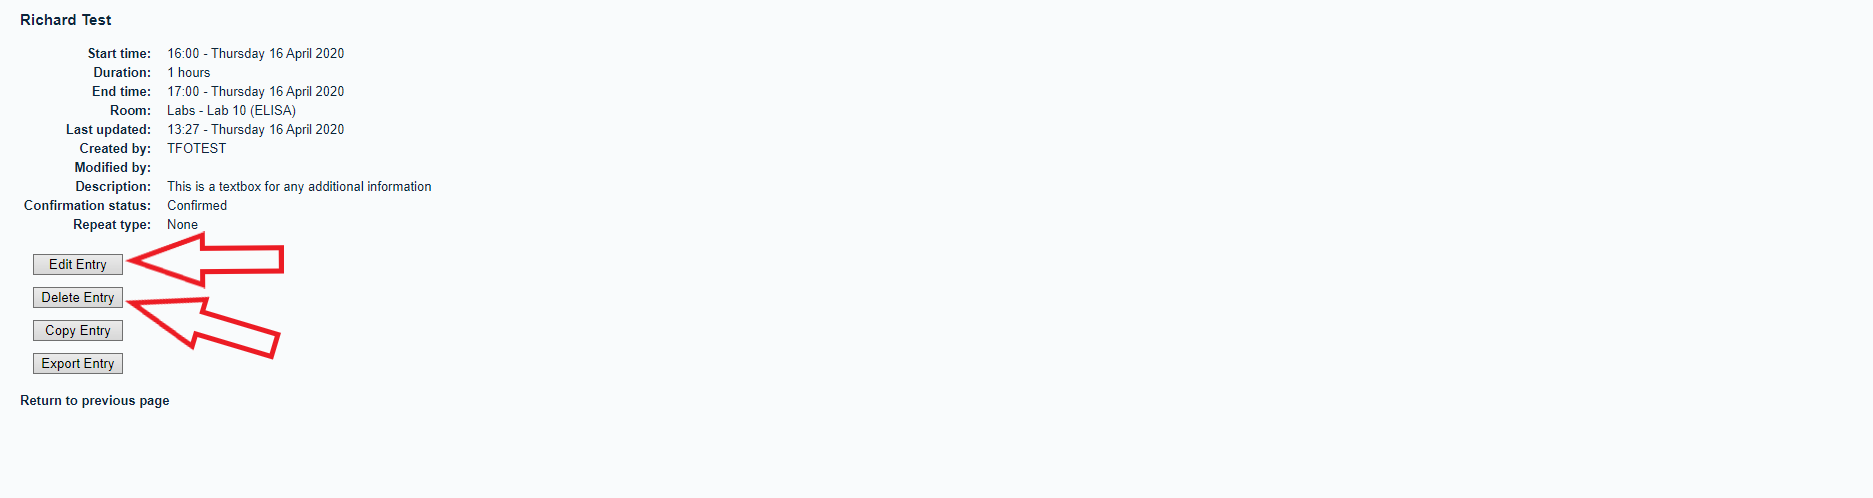
[Additional] In case you want to synchronize your entry with your privat calendar click on an entry and than on the button "Export Entry". It will create an standard iCalendar (.ics) file which which can be imported into any typical calendar system (Google, Outlook etc)
III. Additions to the calendar
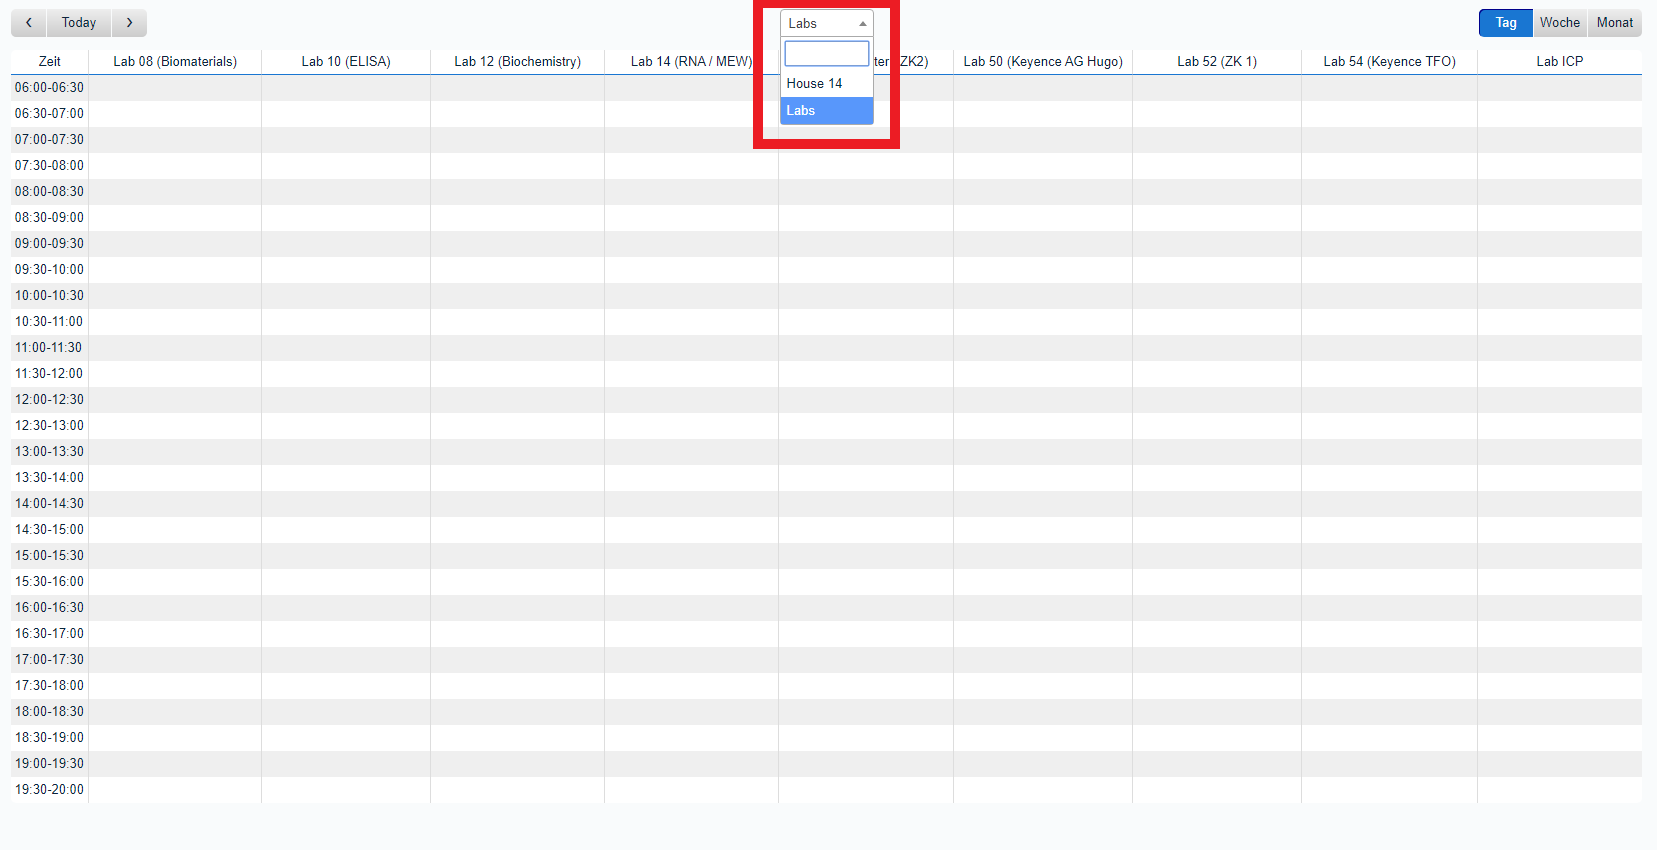
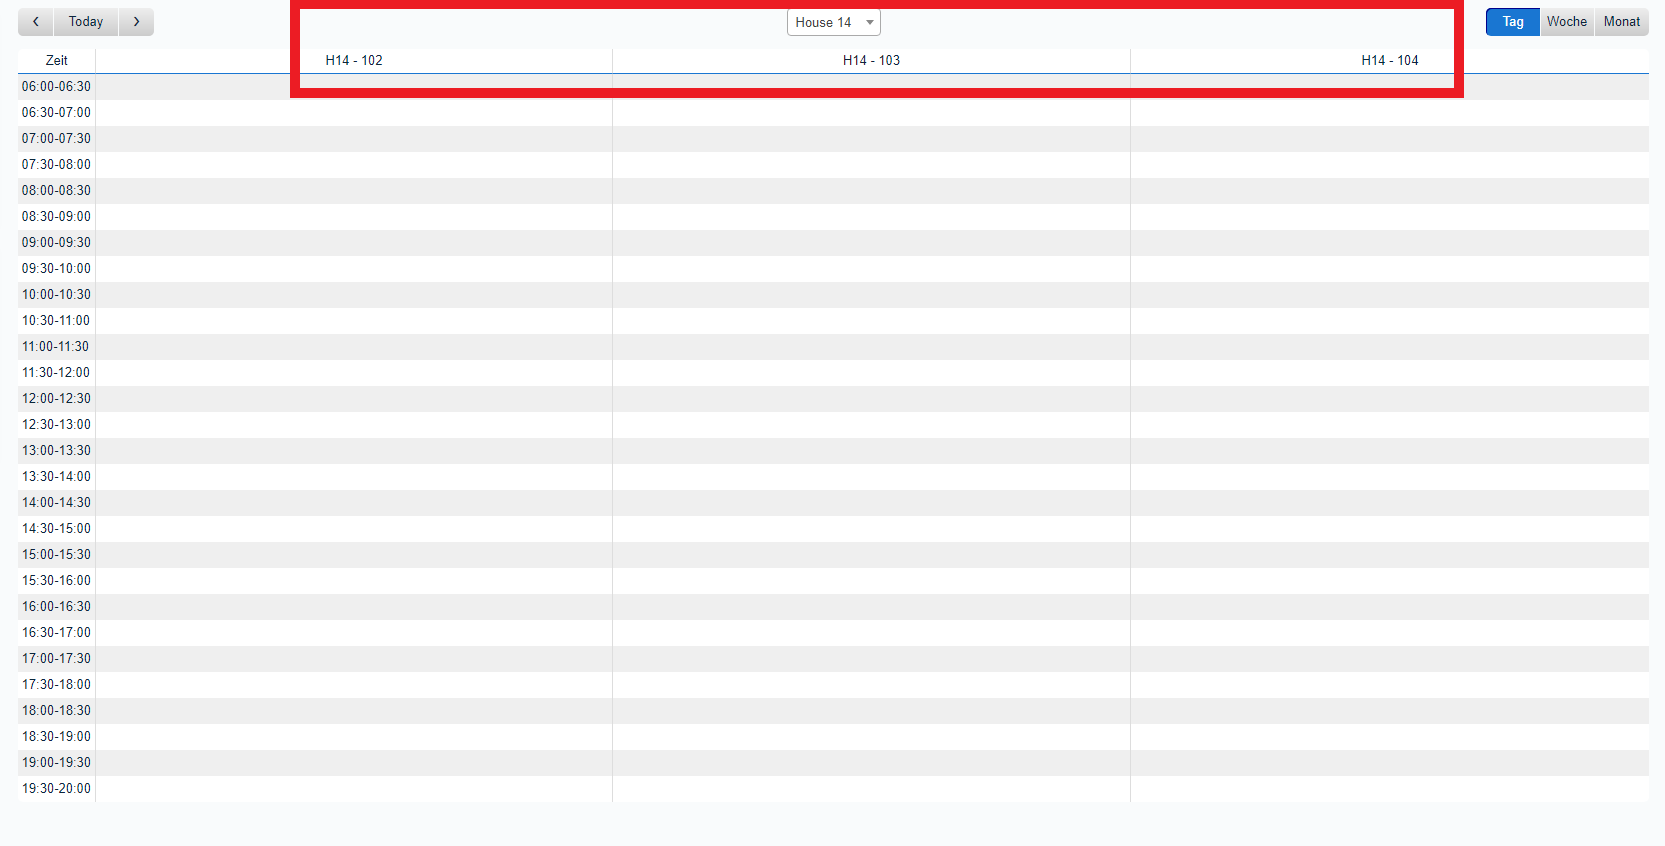
(1) In addition to the laboratories in house 91, the rooms in house 14 have also been included in the booking system. However, for a better overview the areas with the individual rooms have been separated. Centered above the overview of all calendar entries there is now a drop-down menu where you can select either the Labs or House 14 with the corresponding rooms to make entries.